November 2018

Digi-Deck: Magna Dux


Do you really like having a near-unlimited use of powerful trash cost cards like Mega Chip? Do you like to stack flat power gain with multipliers? Does the idea of tying all these benefits together appeal to you? Then you just might be ready for Magna Dux. This is a deck primarily centered around “early and often” with regards to everything. Get big effects early, get them often, don’t stop getting them. It relies on its Ace Reload and its Mega Dukemon to recover any costs paid. Lastly, it stacks attachments with the copious toolboxing to make each active more than meets the eye.

For high skill players, this deck has multiple layers of consideration: what to toolbox when, how aggressively to mulligan for a type-hate champion, or keeping track of deck size are all important. Mostly, it’s a deck for those who prefer to hit one button (Cross) and keep hitting it for most of the game.

Types

Primary type: (25)
Lesser types: (2) | Lesser types: (3)
Rare types: (1) | (1)
Mostly weak to Wind x3 VS, but several additional weaknesses occasionally.

Suggested pre-setup side choices:

Prioritize removing these particular cards in the pre-setup. Adjust to your matchup.

  • Mega Chip
  • Silver ball
  • Mega Disk
  • Dark Wings
  • Reload
  • Cherrymon’s Mist

This pre-setup removal will prioritize getting as much early-game as possible and minimizing late game. In some cases, early Mist could be better than protecting your Cross with Letterbox, so make adjustments where needed.


See visual list for specific card versions whenever ambiguous.

Magna Dux

Level R: 11

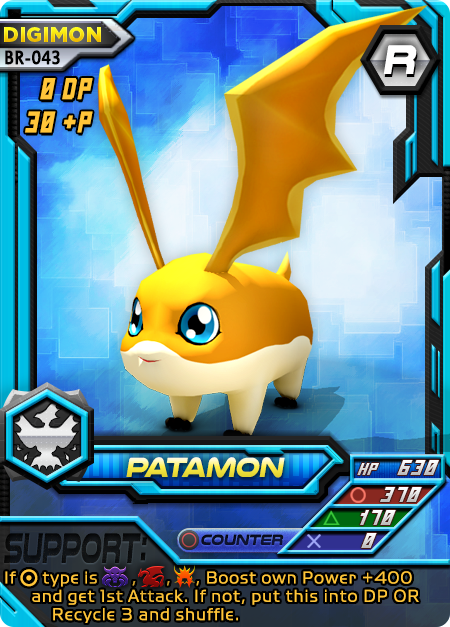
4 Patamon – Primarily fills the +30P quota while giving an extra set of type-hate cards. In this case, as a hate it’s better than Attack Chip and Behemoth combined. However, it will always be useful for recouping deck losses.

2 Penguinmon – Another Rookie primarily used for the +30P, but also doubles as a +20P that gives an evo-bonus. If you rack anything in this deck and play Penguinmon, you should be able to make any non-Ruler evolution. The extra evo-bonuses aren’t incredibly necessary, so save them for Angemon, sometimes Cupidmon, and the rare V-dramon.

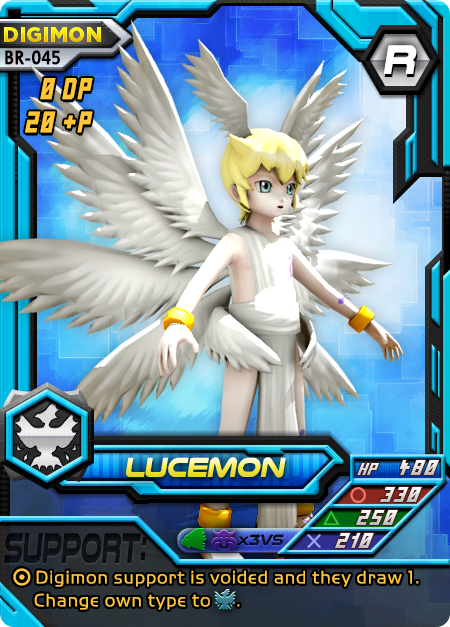
4 Lucemon – This is the primary Rookie body of the deck. The +20P will rarely be good enough to do more than assist Evolution cards. However, the type-hate cross is sometimes a safe bet to fall back on, it has an evo-bonus to both Angemon and Cupidmon. The Support ability is like having 4 sources of keeping your superior bodies alive versus Digimon supports, since it voids them. That void is unconditional (save for being Digimon) but beware of the draw 1 to the opponent. If played perfectly, it should void something scary and put the opponent from 2 to 3 cards, which gives them zero advantage on their own next turn.

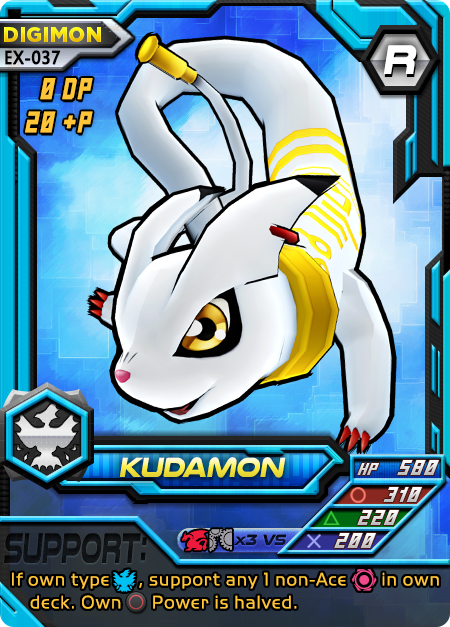
1 Kudamon Partner – This is our partner. Its innate attachment effect is part of the main purpose of Dukemon (to have two attachments) and works well with the deck.


Level C: 10

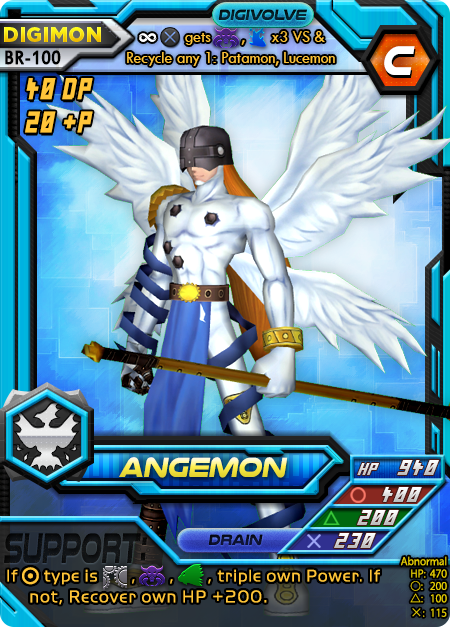
4 Angemon – Good HP body, mildly respectable power all-around, and a terrifying Drain attack. When evolving from the majority of the deck’s Rookies, Nightmare and Marine suddenly take a nosedive and eat triple damage plus your Drain! This is devastating if used correctly. The Support is useful to extend your field of type-hate beyond whatever the current active may be able to target. The if not will keep us healthy regardless what the opponent is packing.

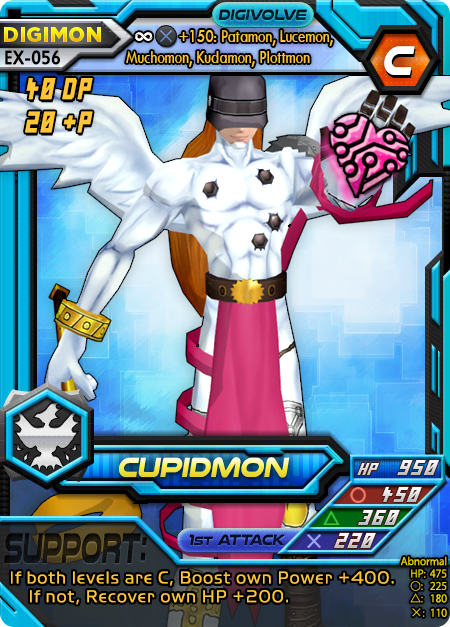
4 Cupidmon – Good HP, useful power levels, and respectable early 1st Attack. Its support may boost power like much of the deck—comboing with the power tripling effects, or it may give Crash which is very effective given that this deck has above-average HP. The if not will keep us healthy regardless of the opponent’s level.

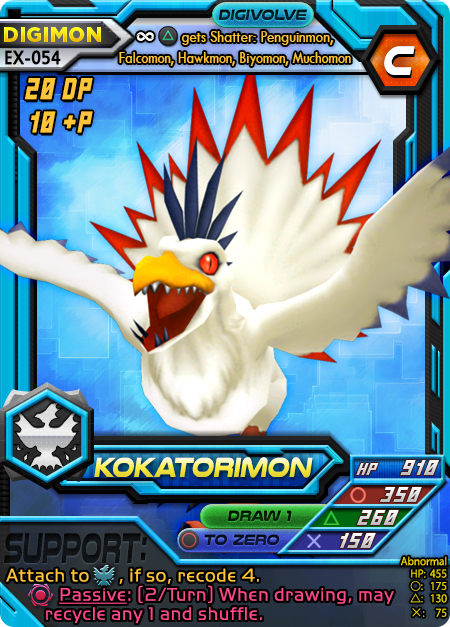
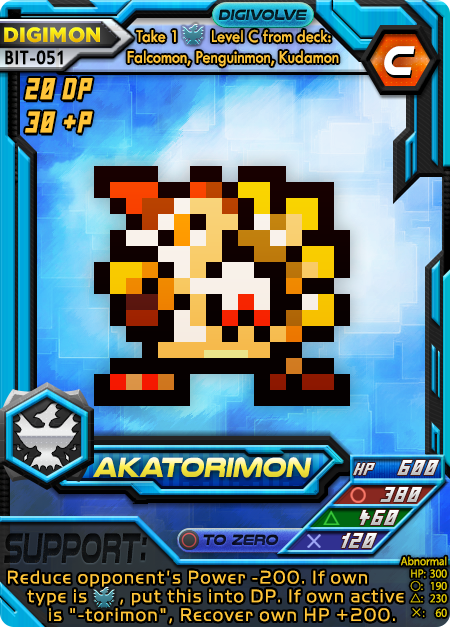
1 Kokatorimon – This card provides valuable engine-fuel by itself. As long as you don’t lose the active, it should start adding quality to the deck almost immediately. Unlike most decks with Kokatorimon, this does not entirely rely on him but instead allows the deck to extend its number of useful attachments by one (for Dukemon) and sets up early re-use of key cards for later.

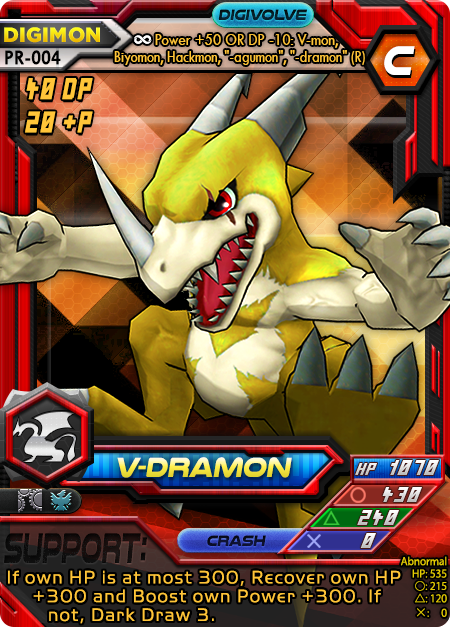
1 V-dramon (PR) – This champion’s immense body for both HP and circle power make it a useful singleton card and it doesn’t disrupt Magnamon. The Crash has the added benefit of taking advantage of the deck’s sizable HP. Its support is often a life saver in any conditions.


Level U: 6

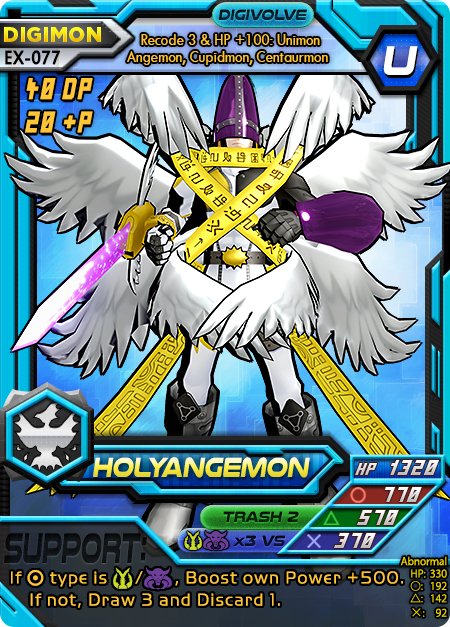
4 HolyAngemon – (Magna in dub, hence “Magna Dux”) This is the primary evolution target and the most effective way to jump to Dukemon. Given its average stats, the best way to make use of HolyAngemon is by adding an attachment (such as Love Crest), gaining the evo-bonus which is nearly guaranteed, and supporting such that his cross is incredibly powerful. This can easily one-shot 98% of the game’s champions and has a faster damage clock than any ultimate without pulling tricks. Given that you should have 3 common type coverages for the type-hate, the only remaining thing to do would be to support with another HolyAngemon for 6 types, or Patamon for 4. Therefore it is crucial that all copies of HolyAngemon are recycled back into the deck either with Reload, Patamon, or Kokatorimon.

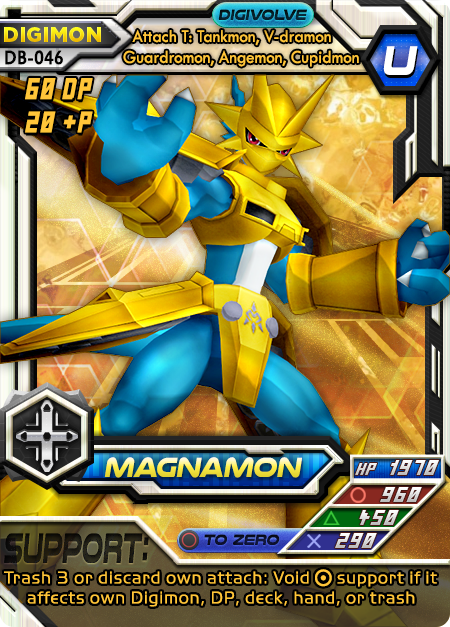
2 Magnamon – Often times HolyAngemon isn’t strong enough to carry you to Dukemon. For these cases, Magnamon sports a significantly higher HP and Power body, albeit at a significantly increased cost. Given that you will get a free attachment due to the Ruler restriction the deck was built around, its key that if you want to evolve to Magnamon, try playing cards that trash as a cost first such as Giga Hand, Mega Chip, Mega Disk, or the other Magnamon support. These are also great targets for Kokatorimon recycling due to the Firewall-like void support. Generally if playing against most decks, HolyAngemon will have a strictly more powerful (and harder to stop) attack power. In those cases where he’s not your best bet, make sure to try and play your draw effects and get Magnamon.


Evolution: 5

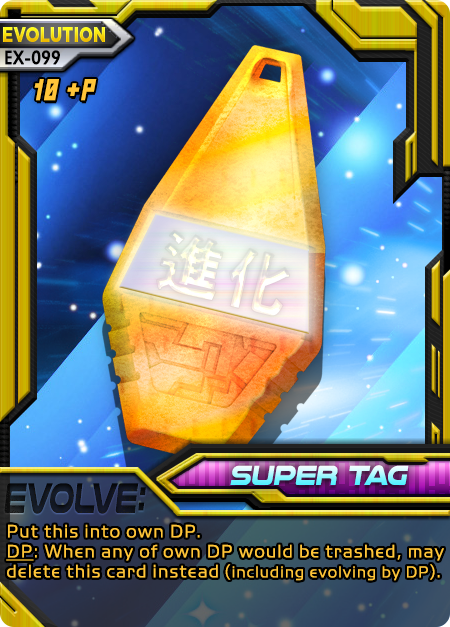
2 Super Tag – Unlike a Digivice or similar, Super Tag can be used to virtually reduce the cost of a Level M’s DP.

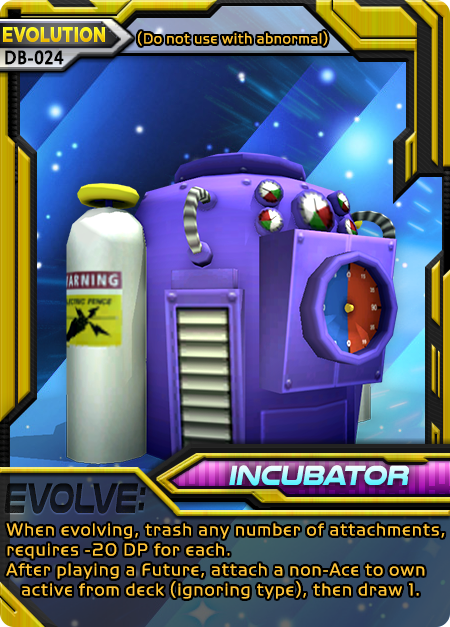
2 Incubator – You or the opponent will likely have an attach so this is used for the DP reduction at Level M while riding the winds of past attach success. Especially useful for getting rid of Magic Word (from either player) so you can immediately get evo-bonuses again. Crucial for finding attaches early. With Magnamon’s attach T evo-bonus, you can also choose from the trash, which gives full coverage for any attach. Reminder: you cannot pick firewalls or aces with Magnamon BUT Incubator can pick Magic Word if you want!

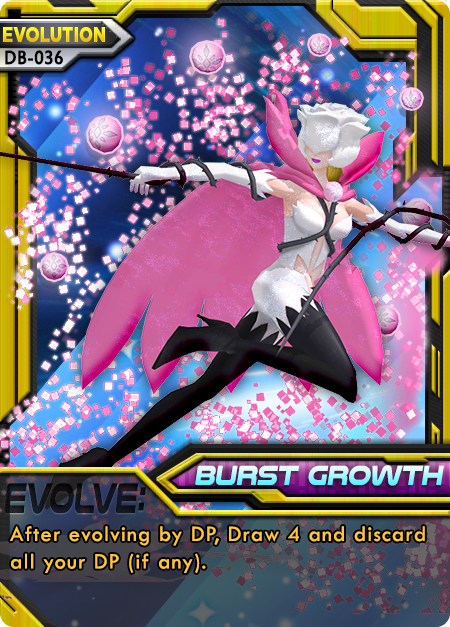
1 Burst Growth – Incredibly useful at recovering losses due to some of the more expensive evolution in this deck.


Option: 14

2 Attack Chip – Very basic and useful card. Combo with x3 VS on Cross attacks, increase the threshold for a 1st Attack KO, and significantly increase Drain’s effectiveness.

1 Mega Chip – The trash cost in this deck might as well be unlimited due to Dukemon’s ACTIVATE and Reload. This becomes an absolutely bananas Power boost and makes numbers large enough with x3 VS that it might kill MoonMillenniummon in one hit under the right circumstances.

1 Mega Disk – Same as Mega Chip for purpose and near-unlimited use, but instead used as a way to keep a key active such as Angemon or HolyAngemon in case it would die.

1 Silver Ball – Nearly staple leveler of playing fields.

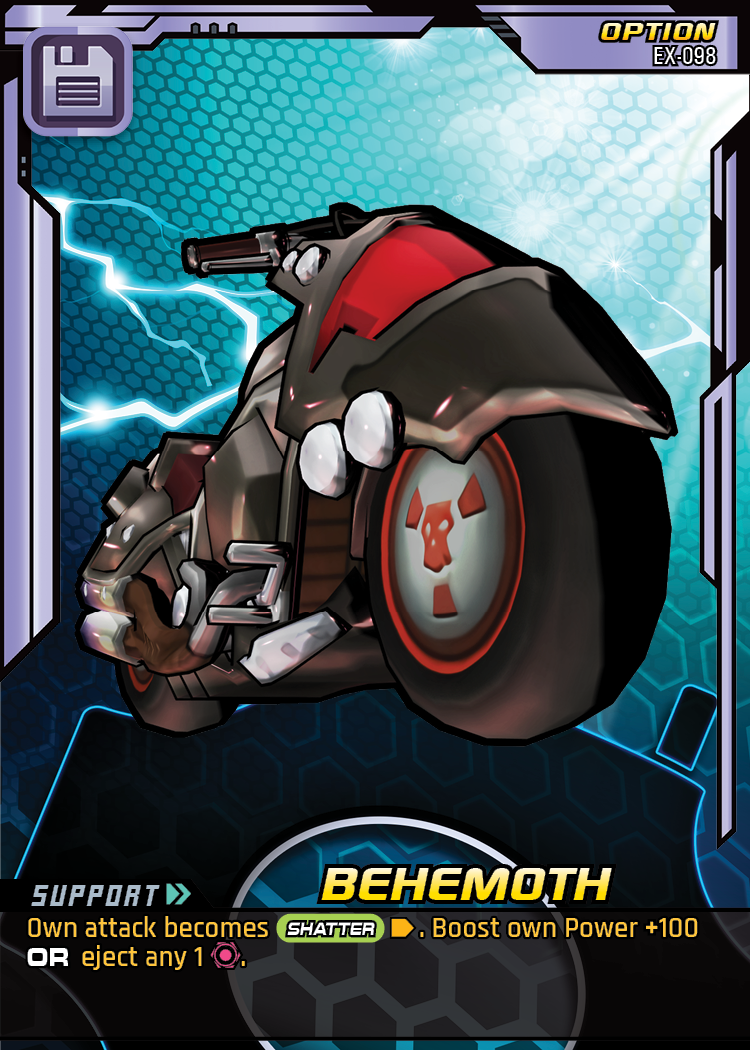
1 Behemoth – With the x3 VS in this deck, 1st Attack and +100 Power can be just plain nasty. With Shatter, most of the Circle attacks are high enough that this can completely nullify an opposing attack.

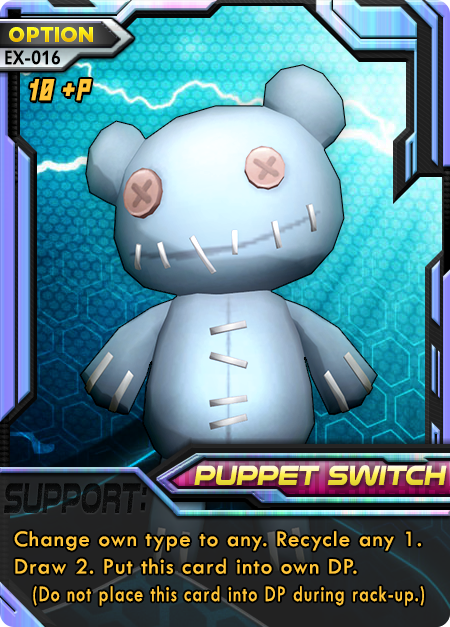
1 Puppet Switch – While the type-change effect isn’t too useful, the +10P combines nicely with the +30P racks in the deck and the recycle + draw allows the immediate reuse of Reload for a potential infinity engine. Play Reload, choose Puppet Switch and any other card, play Puppet Switch on the next support to get Reload, use the racked Puppet Switch somehow to get it into trash, play the Reload putting Puppet Switch into deck, get the Switch again. Reload as much as necessary.

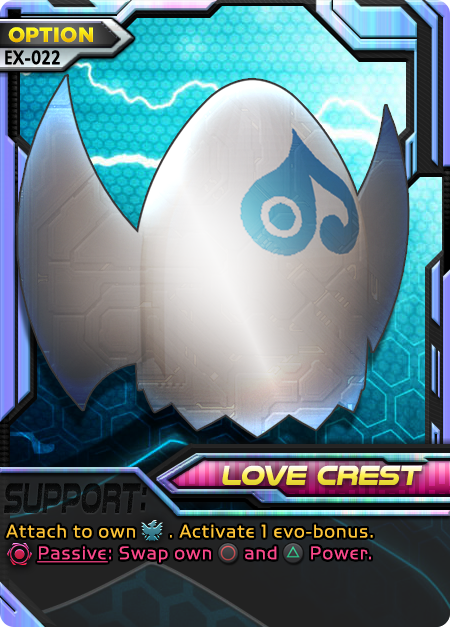
1 Love Crest – Semi-useful evo-bonus effect in some cases, especially if one is missed such as Dukemon. The attack swap ability is incredibly useful in this deck since it makes triangle very powerful when Cross isn’t as devastating.

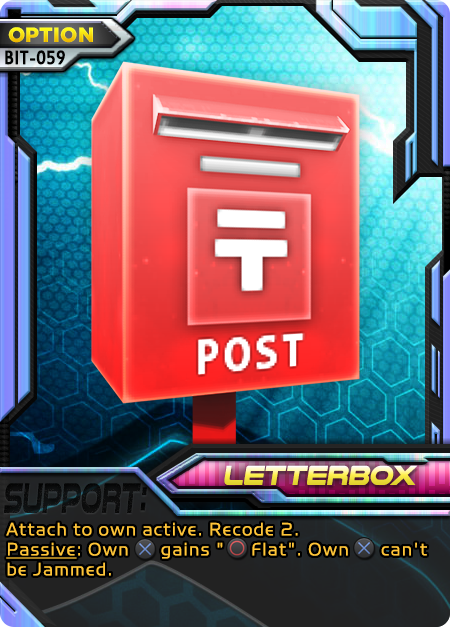
1 Letterbox – Given how reliant the deck can be on Cross at times, it’s useful to have it unaffected by Jamming. In many cases, this turns your type-hate attacks into attacks that also threaten to Flatten. With that constant threat, letterbox brings a new dimension (no pun intended) to the deck’s ability to add pressure to each attack. Often it will cause your Cross attacks to be able to kill either by flat or HP damage, so the opponent can’t always simply invalidate only one of those.

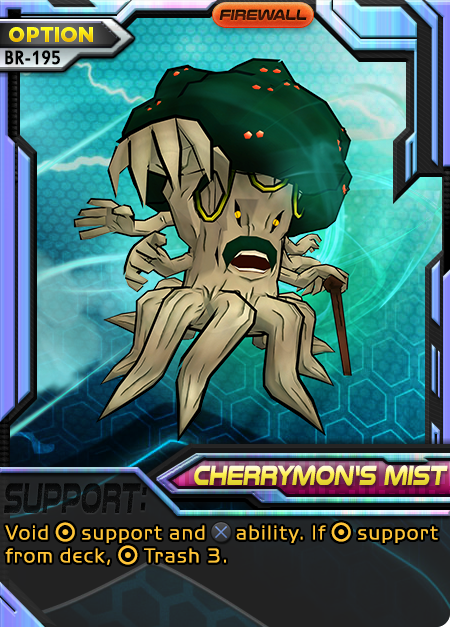
1 Cherrymon’s Mist FIREWALL – Used specifically for the end-turn of the game to guarantee a sure-KO. Otherwise, it can be selectively recycled by Kokatorimon for later or recycled with Reload.

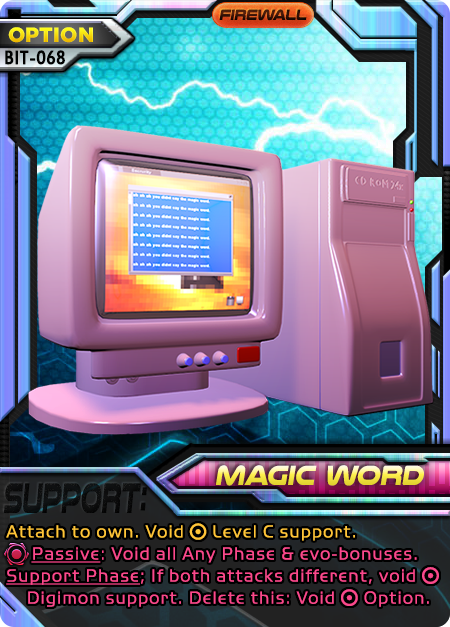
1 Magic Word FIREWALL – Given the high impact of attachments in this deck, Magic Word is incredibly useful. In fact, it’s almost unfair since most of your attacks during a given game should be Cross, making Magic Word a voiding machine. Be careful since you can’t activate evo-bonuses (even if a card effect would) while it’s attached and that can prevent Angemon/HolyAngemon from being as useful. This can also outright diminish Dukemon’s purpose in the late game.

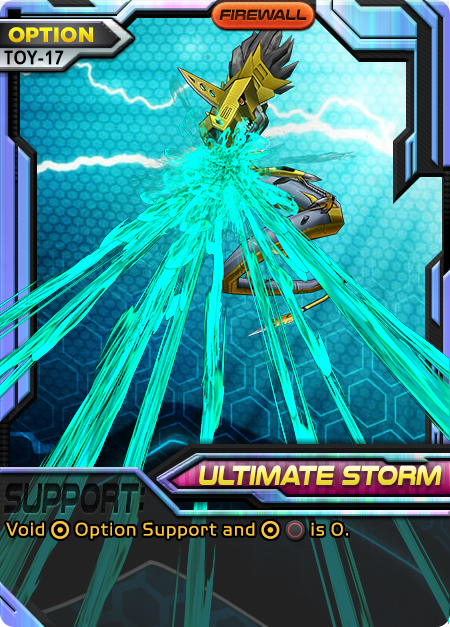
1 Ultimate Storm FIREWALL – People get very addicted to circle versus this deck. It has virtually no way to punish circle other than flat and deadly attacks will significantly dampen all the Drain. This is best used when you can’t 1st Attack for a KO.

1 Giga Hand – Given the nearly-unlimited trashing in this deck, Giga Hand is nearly a copy of the ACE Ground. This is especially useful in a deck where HP is above average like this.

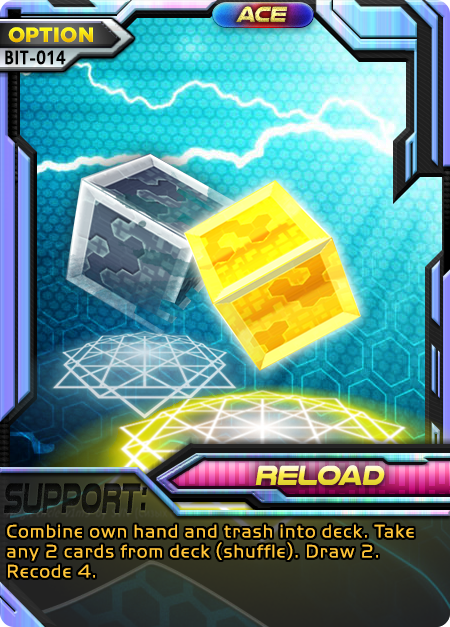
1 Reload  ACE – Given the number of reckless trash costs in the deck, Reload seems like the natural choice. The recycle all feature works much like Dukemon and being able to take any 2 cards after (plus extra) in a deck with multiple single-copy cards means you have a lot of choices for exactly what is most devastating. Here you can see the particulars of why there’s so much type-hate in the deck: choose any type-hate necessary to win or simply pick a Cherrymon’s Mist if it can win the game! With Reload not deleting itself after use, it can then be recycled back into the deck and used over and over, making this a counter to trash-centric decks.

Destiny Zone

Partner: Kudamon

Dukemon – The eventual goal. Usually, you’ll work toward Dukemon slowly even if your pace could be increased. This is because the deck has a lot of HP, healing, and staying power even if it’s often very fast at evolving. That path will allow you to carefully pick your evolution chain and eventually land on Dukemon from HolyAngemon, which is the ideal choice. If not, try to re-use racked DP with Super Tag or wipe out attaches with Incubator and grab a replacement attach (which will let you hold off on the ACTIVATE for a while). He’s absolutely massive in both HP and power all-around, especially his record-shattering 400 1st Attack, which can be pumped very high by supports in this deck. Dukemon’s ACTIVATE is very reminiscent of the Reload ACE: You’ll recycle everything, resetting all the trashing that was done to you, then attach any 2 in the deck. In addition, you get to set up the next 10 cards of the game. By the time Dukemon is necessary, x3 VS may not be a viable solution anymore especially against a skilled opponent. This is where careful choice of which attach combo to pick and how to set up the next 10 cards of the game is important. Be incredibly careful! Dukemon has a crucial evo-bonus, which is shut off by yours and your opponent’s Magic Word. Be absolutely ready to remove yours (with Incubator) and Shatter the opponent’s (with Behemoth) if necessary to make the most of this Mega.

Akatorimon – Usually a way to grab Kokatorimon when absolutely necessary. Not generally recommended unless it’s absolutely vital. Searching for other champions may also be more important than Kokatorimon but I would argue rarely is their Support going to work well enough that Cupidmon wouldn’t have been the better partner evolve choice.

Cupidmon – Good body, has 1st Attack with big cross to rival Dukemon, choose this.

Grapple Chip Proxy – 700 Cross before you even multiply it. With drain.

Possible Changes

No deck is perfect or unbeatable. Most probably have room for improvement even when not considering the meta. This will be no different. Here’s a list of stuff that just may not work as well as I think it does, that I can see coming:

Akatorimon (Destiny Zone) – Useful for fetching some support champions but may not be as effective as Reppamon in many matchups.

Puppet Switch – Some won’t want to focus on cheesing Reload as hard and for those people, I suggest Stardom over Puppet Switch. Or some other attach for ridiculous combos at Dukemon.

Attack Chip – While this is incredibly useful and versatile, I know that many people won’t appreciate such a unitasker. Even in cases where people do, they might otherwise favor Dominate Chip given the evo-speed and HP of the deck. Since Attack chip is here for cross but also circle, a replacement should ideally respect this. However, Grapple Chip and Plug-In S (Special) both amplify Cross to cosmic levels which make them tempting. Boost Chip is awesome for using up the Puppet Switch, especially to keep abusing its loop since one requirement is to get it out of the DP.

Incubator – If you don’t like the redundancy of incubator in an attach-heavy deck, try Splice Chip. You’ll get a guaranteed 10 +P and at least 200 Power, which can wreck with the cross levels here. Be aware it makes Dukemon a harder evolution, which is usually not a problem since you want to go slow anyway.

Letterbox – I wouldn’t blame anyone for being skeptical of using Letterbox in a non-flat deck. It really does work but if you can’t make it sing for you or just don’t like spreading out that far, try Potty Boat to punish partners, Lucky Mushroom since your attacks will likely always be different, or Data Copy in case an opponent tends to have some sort of supremacy over you. For Data Copy, your evo-bonuses will protect you from the type change and you get to keep your Cross abilities.


Destiny Zone

Key Points

This deck is incredibly vitality-based and capable of paying trash costs almost indefinitely. Let’s take a look at some of its strengths and weaknesses, and keep these in mind while playing:

  • Above-average evo speed. Super Tag and Incubator have a habit of making DP costs very low with added benefits, plus 6 copies of +30P cards.
  • Above-average endurance. Hits the mark for HP and keeps going. Combined with its heals, this deck tends to sit at 1000 HP+ for champions and can be 2000 HP+ for ultimates. With proper recursion of Mega Disk, it keeps going.
  • High-to-Bullshit Power. When the typing is right (which is usually), this deck’s power is outright bullshit. Flat power bonuses stack immensely with multipliers which this is abusing heavily. When that fails, it falls back on the completely celestial power ratings of Ruler Digimon.
  • Infinity engine. Reload, Dukemon, and other recycles in this deck tend to make it an infinity gauntlet of useful cards being played over and over. It’s nigh-impossible to beat this with a trash strategy except with numerous well-placed voids (or a Dark Destroy right to the ace, for deletion). Can mulligan incredibly aggressively, especially to cheese a Reload into the hand.
  • Never fails. All of the conditional effects in the deck tend to have “if not…” triggers that give you some other effect anyway. This makes cards capable of multiple roles that shift throughout the game as your standing shifts.
  • Champions can be sticky. Since all the champions cost 40 DP and get no discounts, it’s incredibly difficult to start off on champion immediately without some form of evolution card assistance. This is where Penguinmons, Super Tag, and Incubators combine with the racks to make evolution possible.
  • Vulnerable if Reload gets buried in the trash or deleted. Be wary of trash decks nevertheless since Reload is incredibly necessary to the deck. Once that passes, Dukemon, Patamon (if not) Puppet Switch and Kokatorimon are the only hope to recover it.
  • Magic Word is a soft counter. As said, Dukemon has a hard time with Magic Word on the field. You can remove your own easily enough but you’ll likely have to bait out the opponent’s with a powerful Option.
  • Self-type change can disable the deck. Opponents who use Data Morph, Scummon’s Curse, D-Link in a multi-color deck, or Puppet Switch may prove tough due to their ability to use type changes to evade the brunt of your damage.
  • Often lacks draw power. Despite the singular V-dramon, alternate Patamon supports and misc draw scattered around, the deck does lack a significant source of draw and relies heavily on Reload.


Beside the apparent complexity of Magna Dux is a brutal simplicity—hit hard, hit fast, hit often. Keep hitting, don’t stop. While its copious use of Cross is predictable, it’s often not very punishable. In fact most of this deck’s play style is incredibly predictable but difficult to actually punish. Therefore it’s tough for an opponent to create an edge case to exploit against Magna Dux. With so many layers of redundancy and an ethos of “do what works”, this deck tends to be a dauntless KO-gobbling machine. While not particularly heady or flashy, it does contain some near-infinite combos that can give inspiration to new deck types. If you’re a fan of big, meaty plays that are consistent for days, try Magna Dux.

Top

Digimon COTD: Valdurmon

Valdurmon—For when Phoenixmon isn’t intense enough.

What’s good about it: Every Digimon has a ability but very few have a ability. Valdurmon not only has both but also an implicit ability! Evolving in the typical way using its evo-bonus gives a heavy Draw 3, which is an immense advantage while a Mega is live. Valdurmon can even continue to draw using its cross ability, so your hand never dies. This Digimon is incredibly defensive with its 1840 HP and Shatter ability combination. In addition, its ACTIVATE is nearly as powerful as the ACE [card img=”https://www.v-mundi.com/wp-content/uploads/2018/05/063-Ground.png” name=”Ground”], with an additional Recycle any 5, which can be the end-game gambit for filtering your deck into using your best cards ad-nauseum. The ridiculous [card img=”https://www.v-mundi.com/wp-content/uploads/2018/05/002-PhoenixmonDATA.png” name=”Phoenixmon DATA”] card is valid in this deck. Valdurmon also has a generic Level U DNA, making it pretty consistent even for decks that will have trouble racking 60 DP—which Wind rarely has trouble making. Lastly, Valdurmon’s cross is about as strong as most Level M/U triangle power, which is unique.

What’s bad about it: As ACTIVATE abilities go, this one is pretty limited. Being forced to use can delay a safe window for it several turns depending on the opponent. Since its DNA includes a Mega, the Phoenixmon DATA card must be in-hand to skip the 60 DP requirement. Despite being a Ruler, its numbers are overall a bit lower than many 60-cost Megas due to the staggering number of attack abilities and their utility. Despite this, Valdurmon has no recourse (such as Counter or To-Zero) against a stronger Digimon with more powerful attacks.

Tips: If you want to use Valdurmon without being roped into [card img=”https://www.v-mundi.com/wp-content/uploads/2016/08/132-Garudamon.png” name=”Garudamon”], [card img=”https://www.v-mundi.com/wp-content/uploads/2016/08/078-Piximon.png” name=”Piximon”], or DNA try using [card img=”https://www.v-mundi.com/wp-content/uploads/2016/08/038-Penguinmon.png” name=”Penguinmon”], [card img=”https://www.v-mundi.com/wp-content/uploads/2016/08/022-Love-Crest.png” name=”Love Crest”] and [card img=”https://www.v-mundi.com/wp-content/uploads/2018/05/05-Moxie.png” name=”Moxie”] to get extra evo-bonuses ([card img=”https://www.v-mundi.com/wp-content/uploads/2016/08/030-Plug-InA.png” name=”Plug-In A”] isn’t valid for Level M). You could also double the bonus and draw 6 cards! Having a Ruler type means the ability to use Dominion to freely add/remove Types during your turn. Make the best use of this by including Digimon with extra types so as to be able to play [card img=”https://www.v-mundi.com/wp-content/uploads/2018/05/000-PinkD3.png” name=”Pink D3″]. Using Phoenixmon DATA for the Data Break can be an effective way to keep your ultimates live and in the game when losing horribly and the prospect of evolving to Valdurmon seems unlikely. The data’s Any Phase also compliments Valdurmon’s two draw effects by making sure your hand size stays consistent throughout the game. Recovery Supports or Evolutions (around +300 or more) are useful the turn Valdurmon enters the field if 1840 isn’t enough Power, which should then be enough to kill most Level U/M in the game. Love Crest is incredibly devastating with Valdurmon and it may even be recommended to use [card img=”https://www.v-mundi.com/wp-content/uploads/2017/08/024-Incubator.png” name=”Incubator”] to search the turn it enters play. Since the ACTIVATE says “make own Power same as own HP“, it won’t matter if becomes the weakest. What might actually matter is if becomes incredibly strong with Shatter (250)! In addition, Love Crest immediately grants an evo-bonus so you can Draw 3 again. One last tip: Valdurmon’s ACTIVATE has one of the most powerful recycles available, in that you get to choose any 5 to put back into the deck. Wind tends to be able to make use of decks that run 1 copy of multiple powerful or situational Option cards, draw/self-trash a ton of the deck, and then put the best cards back in for re-use later. This can effectively make their late game a kill machine. Valdurmon’s recycle is like a turbo charged version of an entire Wind deck archetype.

Digimon COTD: Research

Research—what does the scouter say?

What’s good about it: Changing your attack after seeing the opponent’s, allows you to pick the highest-damage, safest option that can dodge their attack abilities; choose your own cross if you know the opponent used a relevant attack; and you can play this in response to “If both attacks are same”, “different”, or “If opponent used [attack]” to effectively void the card by ruining its condition. Research can also be attached for permanent knowledge of the opponent’s hand—an extremely abusable packet of information. The turbo (cost of static 2) changes the slow support effect timing into “Any Phase”, so you can see the opponent’s attack, change yours, then immediately support with something that takes advantage of what attacks were chosen; or simply attach it and support in a way that takes advantage of hand knowledge immediately. As a proxy, it can be most effectively used with partner-searching effects and on a partner with some battle related support to close up its weaknesses. If one of your own attacks has Jamming, you can void the opponent’s attack ability and Digimon support, then resolve Research to change your attack to something more powerful—effectively giving your strongest attack Jamming.

What’s bad about it: By default, this is support timing and doesn’t help the battle by itself. Even with turbo, you have to static your own trash (which is a cost and can’t be skipped, so is a dead card early game). It’s true that you can make up for a lack of skill at attack prediction, but over-reliance on Research could become a detriment to your own personal growth. Since it doesn’t help with battle, playing it as support can be a waste of a turn.

Tips: Pair the attack changing effect with defensive cross abilities like Jamming, to-zero, counter, grudge; or against those abilities to use your best attack that isn’t being countered. For the same purpose, [card img=”https://www.v-mundi.com/wp-content/uploads/2016/08/003-Datamorph.png” name=”Data Morph”] admittedly tends to be better. There are some unique situations where Research’s attack change is better though, such as an opponent with Counter (all attacks). You could switch to your weakest attack and take as little damage as possible, where Data Morph would be the worst case scenario. Research can go beyond this; Turbo creates powerful combos with cards like: [card img=”https://www.v-mundi.com/wp-content/uploads/2018/05/010-CyberParts.png” name=”Cyber Parts”], [card img=”https://www.v-mundi.com/wp-content/uploads/2016/08/184-Short-Lance.png” name=”Short Lance”], [card img=”https://www.v-mundi.com/wp-content/uploads/2018/05/056-Net-Worm.png” name=”Net Worm”], [card img=”https://www.v-mundi.com/wp-content/uploads/2018/05/013-Uninstall.png” name=”Uninstall”], [card img=”https://www.v-mundi.com/wp-content/uploads/2018/05/011-DeluxeMushroom.png” name=”Deluxe Mushroom”], [card img=”https://www.v-mundi.com/wp-content/uploads/2018/05/066-HappyMushroom.png” name=”Lucky Mushroom”], Coliseum, [card img=”https://www.v-mundi.com/wp-content/uploads/2020/11/041-Starmon.png” name=”Starmon”], [card img=”https://www.v-mundi.com/wp-content/uploads/2018/05/068-MagicWord.png” name=”Magic Word”], [card img=”https://www.v-mundi.com/wp-content/uploads/2018/05/012-LiquidCrystallize.png” name=”Liquid Crystallize”]. Any “both players use [attack]” is also incredible when you can simply change your attack afterward during the first step of the Battle Phase; some examples are: [card img=”https://www.v-mundi.com/wp-content/uploads/2020/11/022-Balmung.png” name=”Balmung”], [card img=”https://www.v-mundi.com/wp-content/uploads/2016/08/198-Mystery-Egg.png” name=”Mystery Egg”], [card img=”https://www.v-mundi.com/wp-content/uploads/2016/08/153-Giromon.png” name=”Giromon”], [card img=”https://www.v-mundi.com/wp-content/uploads/2016/08/037-Impmon.png” name=”Impmon”].

X-ray hand vision is incredibly useful for discerning the best time to play discard effects, especially random discards like: [card img=”https://www.v-mundi.com/wp-content/uploads/2016/08/193-HeapofJunk.png” name=”Heap of Junk”], [card img=”https://www.v-mundi.com/wp-content/uploads/2016/08/185-ScummonCurse.png” name=”Scummon Curse”], [card img=”https://www.v-mundi.com/wp-content/uploads/2020/11/015-Lie.png” name=”Lie”]. Discard-all effects also become far more timely and less damaging to yourself when you know exactly what is being trashed. Examples: [card img=”https://www.v-mundi.com/wp-content/uploads/2020/11/020-Fakedrimogemon.png” name=”Fakedrimogemon”], [card img=”https://www.v-mundi.com/wp-content/uploads/2016/08/127-Deathmeramon.png” name=”Deathmeramon”], [card img=”https://www.v-mundi.com/wp-content/uploads/2016/08/154-Lilithmon.png” name=”Lilithmon”], [card img=”https://www.v-mundi.com/wp-content/uploads/2020/10/008-Chaosdukemon.png” name=”Chaosdukemon”], [card img=”https://www.v-mundi.com/wp-content/uploads/2016/08/129-Superstarmon.png” name=”Superstarmon”], and you’ll know what effect they’d likely pick with [card img=”https://www.v-mundi.com/wp-content/uploads/2020/11/031-Bombnanimon.png” name=”Bombnanimon”]. The combos and possibilities with Research seem endless because it gives the one power that is normally forbidden in Digimon Battle Evolution—and one thing many aspects of the game hinge upon: hidden knowledge.

Digimon COTD: Silver Ball

Silver Ball—more like cannon ball

What’s good about it:  Doubles your power and sets the opponent’s to 0, allowing an easy come-from-behind when you lose the evolution race. Since your own Digimon can be any level when used, it can also act as a “get ahead” gambit that preserves your own health while taking a significant chunk out of the opponent. The “If not” case can be really helpful as well, though not as strong as cards dedicated to discarding. Discard 1 can disrupt your opponents ability to evolve, rack DP, Support on the next turn, or even dump them into the dreaded 0-card hand.

What’s bad about it: Silver Ball tends to be least effective when your opponent is stalling or losing, which makes it less effective if there’s a significant gap in deck or player strength. Until such time, it’s a mere discard 1 which can be difficult to time properly or prioritize when you should presumably have more impactful effects. Having multiples of this card is therefore not very recommended.

Tips: Since, most every deck tries to evolve to Ultimate and Mega Digimon—which are big and hit hard, Silver Ball tends to be devastating when played at the right time. Put one of this card in your deck and most of the time it acts like having a second ACE. It should almost always start in the side pile, so as not to clog the opening hand. Key moments to play this card are when the opponent is Level R or C but has 1 card in hand or when they’re U or M and doubling the power would decrease the number of hits-to-KO. Alternatively, when they’re at Level U or M and their attack would KO. When you calculate potential damage for both players, it can sometimes be better to wait for your opponent to reach Mega. If you can tell the current Ultimate won’t deal a knockout blow and the Silver Ball is close enough to KOing their Mega (they haven’t played yet), try saving it for that instance and net two KOs! Silver ball is both a sword and shield against the strongest Digimon in the game; as such, it is a tool from which every deck can benefit.

Digimon COTD: Cyclomon & Monochromon

Cyclomon and Monochromon—A Double feature of evo-bonus madness! These two dynamos of evolution are quite similar.

What’s good about them: The evo-bonuses of these two Digimon combine deck searching—one of the strongest effects in the game, with Evolution cards—one of the most powerful cards when used correctly. Their circles are incredibly powerful on such high HP. Monochromon’s strong attack distribution is balanced to an almost ideal body and has one of the best circle-to-HP ratios in Level C, with an aggressive support. Cyclomon is even more of a tank, has the exact ideal attack distribution, with a similar HP ratio. If you can’t predict the opponent’s attack for use with your cross ability, Cyclomon’s support does it for you. Supporting with Cyclomon first means you won’t eat a Coliseum or similar. to Zero is a solid Cross ability both Digimon share and with enough of it in a deck, Cyclomon’s support becomes a menace. You can get the obvious and fast evolutions like [card img=”https://www.v-mundi.com/wp-content/uploads/2016/08/165-Digivice.png” name=”Digivice”] or [card img=”https://www.v-mundi.com/wp-content/uploads/2016/08/099-SuperTag.png” name=”Super Tag”], but also utility evolutions like [card img=”https://www.v-mundi.com/wp-content/uploads/2017/08/036-BurstGrowth.png” name=”Burst Growth”], [card img=”https://www.v-mundi.com/wp-content/uploads/2017/08/023-Meatvolution.png” name=”Meatvolution”], or [card img=”https://www.v-mundi.com/wp-content/uploads/2016/08/030-Plug-InA.png” name=”Plug-In A”]. One of the best targets for this bonus is [card img=”https://www.v-mundi.com/wp-content/uploads/2019/08/000-FatedSpirit.png” name=”Fated Spirit”] since both evolve to several dragons and a few metal—the end result of which is similar in potence to an Ace like [card img=”https://www.v-mundi.com/wp-content/uploads/2018/05/069-SuperEvolve.png” name=”Super Evolve”]. On top of that, it can search the insanely strong Firewall [card img=”https://www.v-mundi.com/wp-content/uploads/2018/05/052-Immortalize.png” name=”Immortalize”]!

What’s bad about them: Independently, Monochromon’s support is situational to a safe use of circle. Cyclomon’s support is situational to even wanting cross but only when you’re unsure—so maybe wanting cross? Playing both in the same deck for their evo-bonuses is quite difficult, because they don’t share Rookies in common. The evo-bonus is very central to these cards so they are lackluster in decks that aren’t tailor-made for their evolution tree, which limits effective deck building. Some Evolutions like [card img=”https://www.v-mundi.com/wp-content/uploads/2016/08/162-Warp-Digivolve.png” name=”Warp Digivolve”] or [card img=”https://www.v-mundi.com/wp-content/uploads/2016/08/000-Data-Hijack.png” name=”Data Hijack”] are a bit less effective simply due to the nature of their level requirements. Using those cards would rely on getting KO’d. You can’t search all cards with the “Evolve” timing, only yellow-border Evolution category cards.

Tips: Don’t try to have Monochromon and Cyclomon together in a deck unless you work around their evo-box names. Losing bonus consistency to gain evolution consistency is pretty counteractive. Use a partner that can evolve to one of these, since you’ll get the Evolution search for free and the partner itself can be searched with [card img=”https://www.v-mundi.com/wp-content/uploads/2016/08/183-Partner-Finder.png” name=”Partner Finder”]. A take any 1 Evolution effect improves the reliability of [card img=”https://www.v-mundi.com/wp-content/uploads/2016/08/163-Hyper-Digivolve.png” name=”Hyper Digivolve”], since it’s an incredibly unique effect, often central to the strategy of a deck, but mercilessly limited to 2 copies. After fixing the reliability problem, you now also meet the Level C requirement, so they can jump straight to Level M later. Don’t forget to re-consider all the Evolutions you normally avoid due to limited usability. If you have 1 copy of several Evolutions like [card img=”https://www.v-mundi.com/wp-content/uploads/2017/08/024-Incubator.png” name=”Incubator”], [card img=”https://www.v-mundi.com/wp-content/uploads/2017/08/025-Sniperdisk.png” name=”Sniper Disk”], [card img=”https://www.v-mundi.com/wp-content/uploads/2017/08/027-Plug-InBackup.png” name=”Plug-In Backup”], you can count on having a very robust next evolution. [card img=”https://www.v-mundi.com/wp-content/uploads/2016/08/166-D-Link.png” name=”D-Link”] allows your Level Us to be a different type, and require less DP. D-Link would therefore open up many new creative combinations not yet explored here. Evolution that “activate an evo-bonus”, such as Plug-In A or [card img=”https://www.v-mundi.com/wp-content/uploads/2018/05/058-Jogress.png” name=”Jogress”] are even better, since you’re able to move away from the rigid evolution tree with Monochromon and Cyclomon.

Digimon COTD: Dark Evolve

Dark Evolve—The most tooled version of three other Evolutions.

What’s good about it: Dark Evolve works like 3 previously printed evolution cards at the same time: [card img=”https://www.v-mundi.com/wp-content/uploads/2016/08/162-Warp-Digivolve.png” name=”Warp Digivolve”], [card img=”https://www.v-mundi.com/wp-content/uploads/2016/08/165-Digivice.png” name=”Digivice”], and [card img=”https://www.v-mundi.com/wp-content/uploads/2016/08/167-Mutate.png” name=”Mutate”] depending on your current level when played. As a Warp Digivolve replacement, it can take you from R to U (with no DP cost). It’s a Digivice when progressing C to U without DP. Lastly, as a Mutate from U to U and allows abnormal. Since the three aforementioned Evolutions are not always a valid option by themselves, it’s incredibly useful having one in the deck that is always live. Dark Evolve can be used even when you’re abnormal for even more versatility. Since it ignores DP, you get to keep any that was racked. Not for nothing but since it attaches and provides a downside, opposing “Shatter” abilities will backfire, causing opponents to be less likely to use them and also get the damage reduction effect.

What’s bad about it: Plan to replace or detach Dark Evolve. If you don’t, the passive conditions are totally devastating. Without a way to remove this attachment, your shiny new Ultimate is defenseless to Counter, Flatten and To-Zero effects as well as every single prediction-based Support. Having someone support with [card img=”https://www.v-mundi.com/wp-content/uploads/2018/05/056-Net-Worm.png” name=”Net Worm”] and kill your entire hand would be game changing, Ultimate or not. Since it also removes the ability to use “Any Phase” effects, Dark Evolve can significantly limit deck building. It would be difficult to include the ACEs Digi-Diamond and Miracle Ruby, DATA cards (if using the Any Phase primarily), half of Partner Finder and Data Morph (many more), both Super Hit and Moxie will have to be played as Support to attach, and could be voided. While it has one of the use cases from three different evolutions, it doesn’t have every use case. You can’t Mutate C to C or Digivice R to C. This is significant only for the fact that Ultimates tend to be at a lower quantity in the deck and thus less likely than Champions to be in a given hand. Lastly, having to trash 5 when you get KO’d or even when you net a win is pretty steep. That’s a forced full-hand mulligan which essentially means you can’t take a mulligan during a game that Dark Evolve has to stay attached until your Ultimate dies. This is yet another significant restriction but is still a kind of soft-restriction, since you could barrel in head first if you want.

Tips: If you play something like [card img=”https://www.v-mundi.com/wp-content/uploads/2018/05/007-LessonPlan.png” name=”Lesson Plan”] or Nanimon which requires/allows you to discard an attachment as part of its effect, you won’t have to run as many attachments in the main deck to clear a Dark Evolve quickly. In this way, you can technically use those cards (or Support attachments) to trick the opponent into using Circle hate while choosing another attack (don’t get voided!) and Dark Evolve would be removed by the time your attack resolves. Attachment-heavy strategies, like Flatten which uses Letterbox, can make Dark Evolve a tempting Evolution. Be careful of having cards like DarkLizamon, Super Hit, or level Ms that add attachment slots. Since you’re not allowed to remove attachments at-will, these will put you in more danger of having to keep the Dark Evolve. Notice the pattern with deck building and Dark Evolve: don’t bother building an entire deck to cater to it, but many decks can run it without much risk. This goes double for decks that can’t easily search the Dark Evolve since its trash 5 penalty makes it too risky to aggressively find with mulligans. A copy or two in a Monochromon/Cyclomon-heavy deck can be wonderful in theory, due to the evo-box search but consider that a Digivice is strictly better to find in that instance. Cards that change both players’ or your opponent’s attacks like Coliseum and Disrupt Ray help temporarily cover the stopping effects and tend to be good enough to run coincidentally with Dark Evolve instead of as a halfway solution to it. In short, build the deck smart with quick ways to remove the attachment but don’t dedicate a huge chunk of the deck to this card since it’s limited to 2 copies and therefore could weaken the deck overall.